Showing posts with label Flowers. Show all posts

Monday, April 23, 2012

A Night of Cheese: First Course


The first course in A Night of Cheese featured one of my favorite cheeses - Fresh Goat's Milk Cheese from Coach Farm (Pine Plains, NY). The cheese was smooth and creamy with a little bit of tang on the finish. Its most notable feature was probably the creaminess, which coated the entire palate, but a close second would be the grassy notes that proved how fresh the cheese really was. Each diner received half of a two ounce cheese "button" alongside a candied orchid. The hardened sugar on the orchid provided a nice crunch to contrast with the cheese, while the floral qualities highlighted the "grassiness." Diners simply plucked off the petals to enjoy with each bite of cheese.

The beverage pairing was a Non-Vintage Cuvee M from Mumm Napa (Rutherford, CA). This demi-sec sparkling wine featured particularly small bubbles and a long finish, which were excellent for cleansing the palate and cutting the creamy texture of the cheese. For more info on sparkling wine dryness, read this post.

I really loved this course. It was the perfect jumping off point for the rest of the evening. The candied orchids were an elegant touch that could not have been simpler to make. Try making a batch of candied edible flowers to decorate cakes and other baked goods! (Besides orchids, other edible flowers include herb and fruit blossoms, violets, johnny jump-ups, carnations, lilacs, nasturtiums, English daisies, marigolds, and hollyhocks, among others.)

********************
Candied Flowers

One egg white (or powdered egg whites - mix according to manufacturer's instructions)
Castor sugar or superfine sugar
Edible flowers

1. Select your flowers. Be sure to choose flowers that have been grown for culinary purposes without pesticides and that are blemish free (you want them to look pretty, after all!). Wash them gently or wipe with a wet sponge to remove any dirt. Allow to air dry.

2. Beat an egg white until slightly frothy. With a small clean paintbrush, lightly coat each flower (front and back) with the egg white (work in batches to avoid the egg white drying too fast on the flower).

3. Coat each flower thoroughly with the sugar. To make your own superfine sugar, pulse white granulated sugar in a food processor several times (be careful - don't turn it into powdered sugar!).

4. Allow each flower to dry for 12-24 hours on a baking sheet lined with wax paper. Store in an airtight container until ready to use. Candied flowers will last up to three months in a cool, dry environment. Avoid eating the white base of each flower, which tends to be bitter.

A very special thanks to Eric Paul, The Cheese Traveler, for his expertise. Without him, this night would not have happened! Be sure to follow him on Facebook. Coach Farm goats milk cheese can be purchased through The Cheese Traveler or at any of these establishments.

Monday, August 1, 2011

Queen Anne's Lace Jelly


Sometimes when I make a recipe, I can't help but wonder who thought of that? Who decided to try these ingredients, and how many did they try before they found the right one? This notion ran through my mind often while making Queen Anne's Lace Jelly. Seriously, who was the first person to walk through a field, gather an armful of the flower and think hey! I bet that would make a tasty spread. Let's cook it up and see what happens! I think of things like this a lot (blame the history buff inside me - I keep a journal of ideas for history books I intend to write one day, and subjects like culinary history are front runners). Of course I had to turn to Dr. Google for such answers. Here is what I found:

- Queen Anne's Lace is the progenitor of modern carrots. In fact, it is know as "wild carrot" (and if you dig it up and crush the roots, it smells like carrots)

- The flowering period for Queen Anne's Lace (in the Northeast) is typically June through August

- Queen Anne's Lace has medicinal qualities, much like many other herbs and wildflowers. It is thought that the plant can act as a diuretic, sooth the digestive tract, support the liver and aid in waste removal by the kidneys. It also aids in the treatment of dropsy/edema

- The leaves of Queen Anne's Lace (as with modern carrots) contains a high level of porphyrins, a hormone that stimulates the pituitary gland and can increase sex drive (bonus!)

- There is conflicting evidence on the effect Queen Anne's Lace has on fertility (depending on what part of the plant is used). While some claim it can increase fertility, others claim it acts as a contraceptive, and can even cause miscarriage. If you are preggers, I recommend you stay away, as with most other herbs

- Queen Anne's Lace is a dead ringer for Hemlock (yep, like the kind that killed Socrates). Be extremely careful when harvesting the flower to make sure you have the right one. The easiest way to differentiate the flowers is that Queen Anne's Lace has a "hairy" stem, while Hemlock has a smooth stem

- The source of the name is disputed, but many stories point to Royal fashions, the Patron Saint of lacemakers (St. Anne), and several instances related to Queen Anne of England/Denmark

For more information on Queen Anne's Lace and to see pictures, please visit The Carrot Museum

So, back to the jelly - Queen Anne's Lace Jelly isn't what I would refer to as a Peanut Butter and Jelly staple (like Strawberry Jam is), but more an accompaniment to a lovely cheese plate (alongside a nice creamy brie, candied nuts, and buttery crackers). Like other flowers jellies (lavender, rose, etc) it has a very herbaceous, medicinal taste. The only way to know if you like it is to try it, so here's the recipe, have at it!


********************

Queen Anne's Lace Jelly
Makes Approximately 2 Pints

18 fresh, large Queen Anne's Lace flower heads*
4 cups boiling water
1/4 cup lemon juice
4 cups sugar
2 packages powdered pectin
3 drops natural red food coloring, if desired

1. Fill the sink or a large bowl with cold water. Submerge flower heads in the water and slosh around to remove any insects. Drain flowers.

2. Place the flowers in a large pot** and cover with boiling water. Cover and let sit for several hours or overnight. Essentially, you are making a very strong, stinky Queen Anne's Lace tea.

3. Strain the cooled "tea" through a sieve lined with cheesecloth. Save the tea, discard the flowers.

4. Rinse your pot and add the tea back in. Heat over a medium-high flame. Add the lemon juice, sugar and pectin. Stir to dissolve and bring to a boil. Boil for one minute, then reduce heat to medium. Stir frequently and be sure to scrap the bottom of the pan to prevent burning. Cook for 8-10 minutes until thickened (a good "set" test is to place a plate in the freezer for 15 minutes. Drop a small spoonful of the jelly onto the cold plate. After 30 seconds, the jelly should form a soft set and not run).

5. If you wish, add food coloring to the jelly to give it a peachy-pink color. Otherwise, the jelly with be a very light chartreuse color.

6. Pour jelly into sterilized mason jars or other storage container. Keep in the refrigerator or process in a hot water bath for five minutes. Enjoy!

*You can definitely pick Queen Anne's Lace from fields and pastures (like I did), but pick several feet away from the road to be sure the flowers aren't contaminated with pesticides or road grime. Queen Anne's Lace can also be found at the Farmers Market.

**When making a floral or herbal jelly, be sure to cook in a ceramic or stainless steel pot. Cooper or aluminum pans can chemically alter the properties of the flowers/herbs.

Tuesday, July 19, 2011

Weekend Update


Hello friends, how was your weekend? Mine was busy busy busy! We held our 2nd Annual Barnside Movie party on Saturday, and on Sunday I attended a food swap held by the amazing From Scratch Club. I'll have pictures and recipes coming right up, but in the meantime, I thought I'd share some photos from around the farm over the past few days.


Tuesday, July 12, 2011

Garden 2011


Here it is, my long-overdue post on my garden this year. I planted two beds that are probably about 6'x15' each. My hope is that later this year, I can move the cow fence back a bit, add four new beds of the same dimension, and place a fence around the entire garden. 


The layout of the garden is as follows:


Bed One:
Row 1: Tomatoes (Yellow Pear, Red Currant) and Marigolds
Row 2: Tomatoes (Jet Star) and Marigolds
Row 3: Tomatoes (Beefsteak, Jet Star, Sweet Aroma Hybrid) and Marigolds
Row 4: Tomatoes (Big Rainbow), Peppers (Jalapeno, Jupiter), and Marigolds
Row 5: Peppers (Sweet Pepper Mix, Yellow Bell, Revolution, Portugal Hot ) and Marigolds
Row 6: Radishes (Raxe)
Row 7: Carrots (Danvers 126)
Row 8: Carrots (Danvers 126)
Row 9 Herbs (Dill, Rosemary, Spearmint, Basil)
Row 10: Herbs (Cilantro, Rosemary, Italian Parsley. Chives)
Row 11: Originally had onions but transplants didn't survive. Will be used for fall plantings
Row 12: Lettuce (Rainbow Microgreens, Salad Bowl)
Row 13: Lettuce (Valeria Red Leaf)
Row 14: Originally had Dahlias but transplants didn't survive. Will be used for fall plantings
Row 15: Peas (Garden Sweet)
Border plantings include Pumpkins (Long Island Cheese, Jack-O'-Lantern), Gourds (Small Fancy Mix), Melons (Cool Green Honeydew, Hearts of Gold Cantaloupe, Sugar Bowl Watermelon), Zucchini (Foodhook Organic), Squash (Waltham Butternut), and Cucumbers (Picklebush)


Bed Two:
Row 1: Tomatoes (Jupiter, Brandywine) and Marigolds
Row 2: Tomatoes (Juliet) and Marigolds
Row 3: Tomatoes (Juliet, San Marzano) and Marigolds
Row 4: Tomatoes (San Marzano) and Marigolds
Row 5: Tomatoes (San Marzano) and Marigolds
Row 6: Tomatoes (San Marzano) and Marigolds
Row 7: Tomatoes (San Marzano) and Marigolds
Row 8: Tomatoes (San Marzano) and Basil
Row 9: Horehound, Catnip, Parsley and Basil
Row 10: Broccoli
Row 11: Cauliflower and Cabbage
Row 12: Brussels Sprouts and Celery
Row 13: Carrots (Rainbow Blend)
Row 14: Lettuce (Mesclun Mix)
Row 15: Lettuce (Mesclun Mix)
Row 16: Blank, will be used for fall plantings
Row 17: Hollyhocks (Heritage Outhouse Hollyhocks Single Mixed Colors)
Border plantings include Pumpkins (Small Sugar, Jack Be Little), Zinnias (Heritage Pumila Mixed), Cosmos (Heritage Sensation Mix), and Blanket Flower


I laid grass clippings as mulch between the rows, around the bed, and around each plant. This helps to smother out weeds, retain water, and keep the soil warm. I am hoping I can find enough old bricks on the property to create a little border around each bed. The space between the beds is big enough to fit the lawn tractor and wagon for unloading grass clippings, fertilizer, etc.


The kids and my mom helping to plant the garden

It's not a Martha Stewart garden, but it does the job for now. I've already harvested lots of lettuces and radishes, and soon I'll be able to have my pick of everything else (we have lots of green tomatoes raring to turn red!). In the fall I will plant more lettuce and radishes before I till everything together and plant winter wheat, winter rye, and garlic. To get to the garden, I have to walk under an old Ben Davis apple tree that is dripping with fruit. I set-up our antique lawn furniture next to the garden, as well, so I can watch it grow with morning coffee or evening cocktail. The cows come and visit, too.


Did you plant a garden this year? How is it growing? Are you trying to install your own container herb garden? I'd love to hear about your garden activities this year!

Monday, May 16, 2011

Starting Seeds

 
"Big Rainbow" heirloom tomato seedlings

I love spring anywhere, but if I could choose I would always greet it in a garden. ~Ruth Stout

There are many ways to garden. Some people buy plants from a nursery or garden center, which is a great option for many. I have done this in the past, primarily with annuals flowers (like pansies and petunias), tomatoes and peppers.* This year, I decided to try my hand at starting my own seeds. Here's a little how-to for those looking to do the same.

What you need:
Seeds
Growing Medium
Containers (preferrably with a clear glass or plastic cover)
Light and warmth
Water

1. Do some research and math. GASP! Did you actually think gardening required math? Remember your high school calc teacher telling you over and over again that you might actually need this information someday? Well, you don't need calculus, but you will need some simple math skills. Think about a realistic date when you will be able to plant your seedlings in your garden. Then examine the germination and maturity rates. Some plants (like rosemary) need up to three weeks to germinate; others (like tomatoes) only need about 7 days. Maturity rates are often several weeks. Work backwards from the date when you want to plant your garden (my rule of thumb is around Memorial Day weekend, when the threat of frost in the Northeast has ended). This means I need to start my seedlings (most of them) around mid-April so that I can have tomatoes come July.

2. Find the best planting solution for your situation. I have two sunporches that retain a lot of heat in the spring. Pair that with the seed starting kit I use, and it makes for great growing conditions. I selected a tray growing container that nestles into a bottom compartment to drain excess water and circulate air around the roots and includes a clear plastic cover that helps create a warm, humid environment for seedlings (which aids germination). Sounds expensive, doesn't it. Don't worry, it only cost me $8, I think. Seed starting takes space, so you will need a shelving unit or flat surface on which to place your seedling trays. You can also use basic pots and planters, but you will want to make sure they can produce humidity. Here's a trick - cover the top with plastic wrap, and remove/replace for watering. My sunporches generate a decent amount of heat, and I place my trays on the ledge near the windows (see picture below). During the day, I'll sometimes move them outside to get more light and generate more heat. Seeds love moisture/humidity to germinate, so try to encourage this environment as best possible. Other solutions include greenhouses (small, portable greenhouses are available for purchase at big-box stores and online), on a kitchen windowsill, in cold frames, or under a grow lamp.

My seedling trays

3. Plant your seeds. This is pretty straight-forward. Some seeds require different planting depths, so make sure to read the back of the seed packet for more info. My preferred method of planting is using a good, organic seed-starting mix (NOT gardening soil!). Other methods include peat/soil pellets that come dry (you just insert the seed and add water). These can typically be placed right into the ground once the seedling is ready for transplate. There are also compressed peat moss pots that require soil, but can also be directly planted in the garden when the seedling is ready. Hydroponic plantings are also popular, though I cannot speak to the effectiveness of this method, as I have never tried it. I like the black plastic seedling trays featured in the above picture, as it retains heat in the soil well (probably better than any other method). Add about an inch of soil, then your seeds (for larger plants, add one see per cell. Most other seeds (tomatoes, peppers, herbs) can be planted two to five seeds per cell). These plants can be divided once crowding becomes an issue. After seeds are added to the soil, cover with more soil (generally 1/4 - 1/2 inch) and water thoroughly. You'll need to water every day until seed germinate.

Also, be sure the seeds you are planting actually want to be seed-started in this manner. Some seeds are direct-sow, meaning you are better off planting them right into the garden. Direct-sow plants include lettuces, kale, spinach (and other leafy greens), radishes, peas, and beans. Basically, any other seeds can be started indoors. Check the back of the seed packet for more specific planting information.

4. Fertilize and Water. Once seeds have germinated, only water once the soil is dry. Too much water/moisture can cause root-rot or mold on the seedlings. The general rule of thumb for fertilization is not to do it until seedlings have developed a second set of leaves (which usually happens 3-4 weeks after germination). Look for a complete organic fertilizer that has trace compounds to ensure seedlings get all necessary nutrients. Seedlings are delicate and cannot handle a full-dose of fertilizer, so dilute the fertilizer to a half-dose with water. Seaweed or kelp extracts and fish emulsions are great for seedlings and help them mature quickly and fruitfully. Again, you will need to dilute these as to not overpower little seedlings.

5. Transplant. Some seedings might get leggy and spindly, which means they are ready to move to a bigger growing environment. Many factors contribute to transplate rates. The back of the seed packet will give you specific information on when to move seedlings to your garden. Transplant factors include the outgrowth of the planting cell or overcrowding (if you plant more than one seed per cell), and garden environment (that is, if the weather is condusive for gardening and the threat of frost is over). If the seedings have outgrown cells, but are not ready for the outdoor garden, simply move into bigger pots or cells. Be careful to maintin delicate root systems. Use small gardening tools (or old kitchen spoons and forks) to ease the seedling out of its cell.

If you garden using containers, you can plant your seeds directly in your containers, keep inside or in a greenhouse until seeds have germinated, then move the containers outside when seedling are ready. This saves a few steps!

Organic "Beefsteak" tomato seedlings and "Big Rainbow" heirloom tomato seedlings

If you have specific questions related to seed starting, please email me or leave a comment and I will try to respond as best possible. Good luck!

*If you choose to buy plants to put in containers or your garden, try to buy from a reputable source or local grower. Some studies have shown that the "great tomato blight" of 2009 was caused by a bad batch of plants from big-box gardening stores.

Saturday, May 14, 2011

(More) Buds and Blooms

A few more pictures from around the farm. Enjoy!


Buds of the crab apple tree

If all goes according to plans, the house will be getting a
paint job this summer (think cream, green and purple!)

A lot of the shrubs and plants around the house need some serious trimming

Pear tree blossoms in the background. This outbuilding collapsed from heavy winter snows.
We'll be building a pergola in it's place (and hopefully a big fire pit!)


Pretty pale pink apple blossoms (this tree produces MacIntosh)

Black cap canes (can't wait to make jam!)

This HUMONGOUS daylily clump is so weird - it sits in the middle of
the lower lawn, and I have no idea what to do with it 

White lilacs that line the driveway

Sweet Lily of the Valley near the driveway and bay window of the dining room

Our neighbor Lorraine's house. She lives on the other side of the orchard/cow pasture.
She keeps a garden on our property and leaves scraps on her kitchen porch for our cats

John and Doris live right across the street. Their house and our house were built
by the same family (the Gaige brothers), but their house is much older

Doris' vegetable garden

I love the picket fence and tulips! In the late summer, holly hocks bloom around the fence

John and Doris' barn was recently built by a team of Amish craftsmen, and it looks amazing!
Their old barn collapsed in 2010 after a very heavy snowfall (we received 70 inches of snows in 3 days!)

I can't wait to update the barn - new windows, partial new roof, new doors and new paint.
With luck (that is, with whatever free-time my dad had), we will place a cupola on the peak

The colors of the farm are so beautiful and picturesque that
sometimes I can't believe this is actually my life! 

Thursday, May 12, 2011

Bud and Blooms

Hi friends! Did you think I died? Nope, just been out living life and staying busy. I guess that's good for blogging, right? If we didn't live our lives, what would we blog about? Okay, maybe that's not entirely true. Perhaps it is just something I tell myself in order to erase the guilt of being off the blog for so long. Add this to the "Lies We Tell Ourselves to Make Ourselves Feel Better" file.

Well, things have been pretty good around here. Had a couple birthday to celebrate, took a mini-vacation with Dave, everyone was sick in there somewhere, the usual. In the past week, everything in the outside world seems to have exploded in color here on Silly Goose Farm, and I thought I'd share some photos with you.

The orchard:
Apple trees

Wowie, the grass is getting high! Guess it's time to let the cows out. 


 I love how old and tangled some trees are

A rose bush grows under one apple tree. I should probably move it

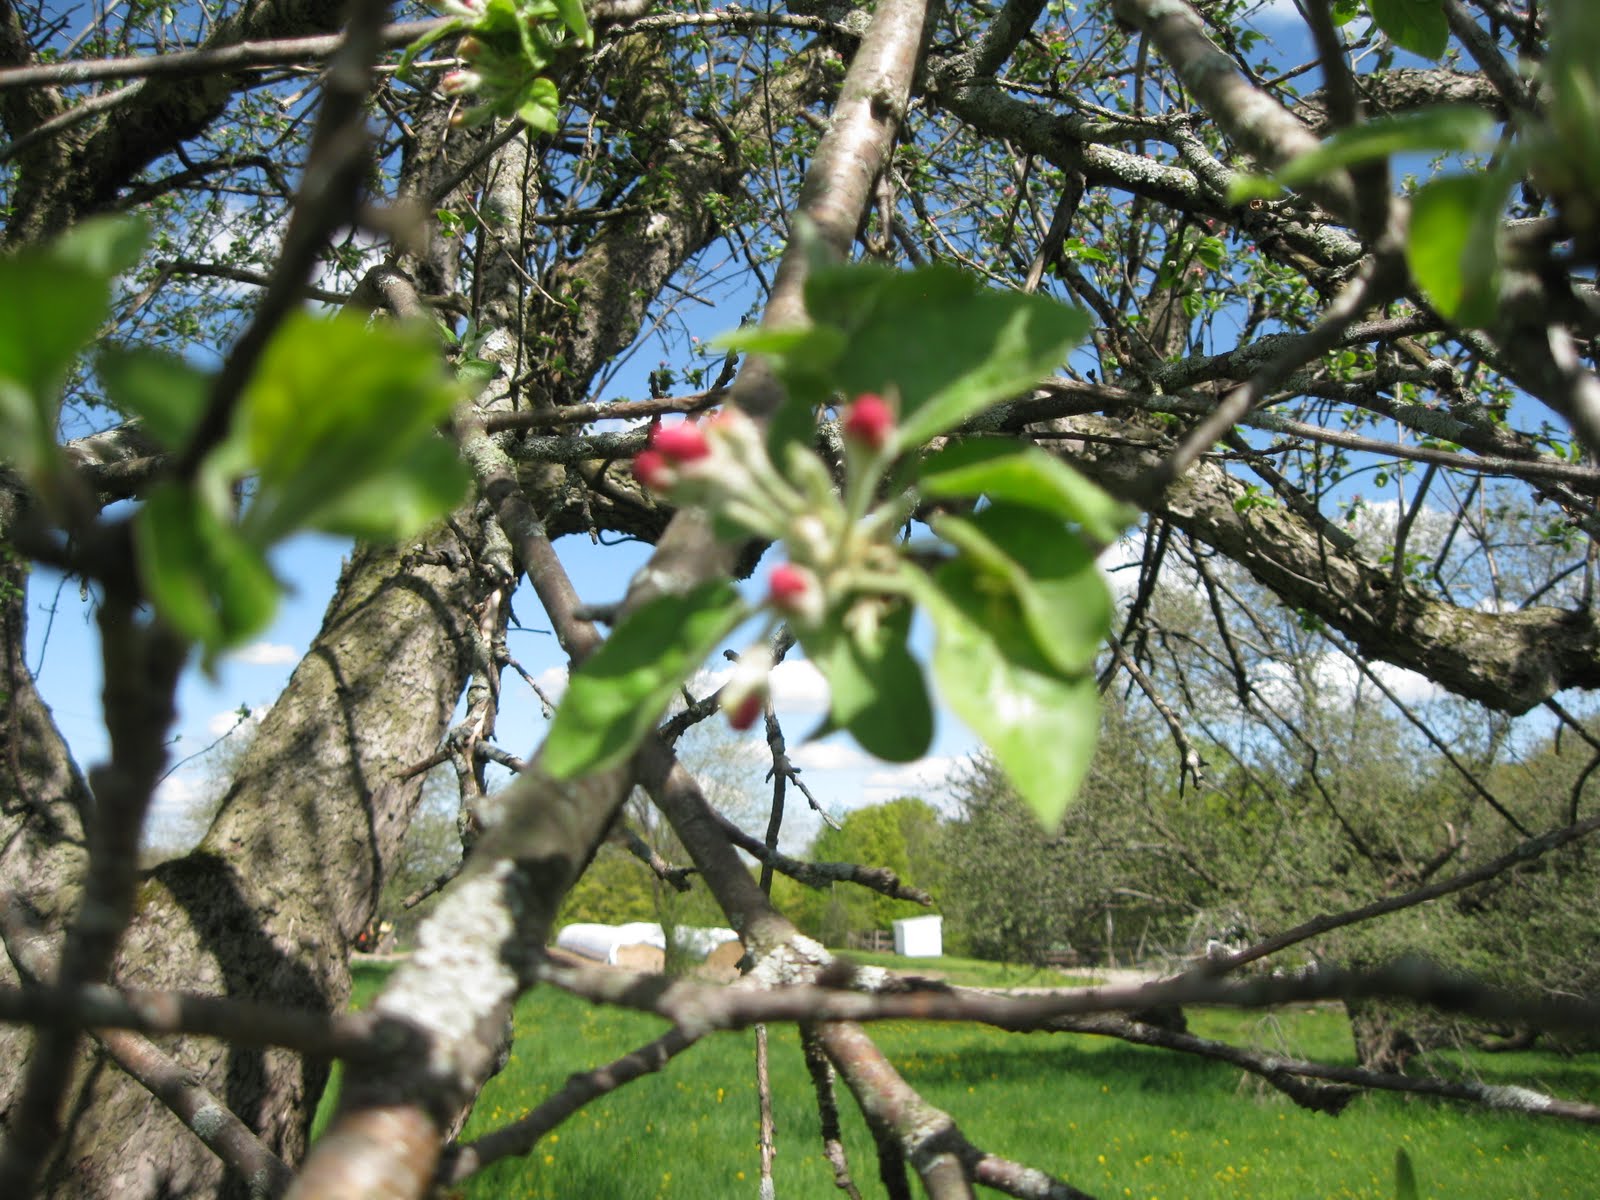
Blurry close-up of apple blossom buds


Pure white pear blossoms

I imagine these pear trees are close to (if not more than) 100 years old


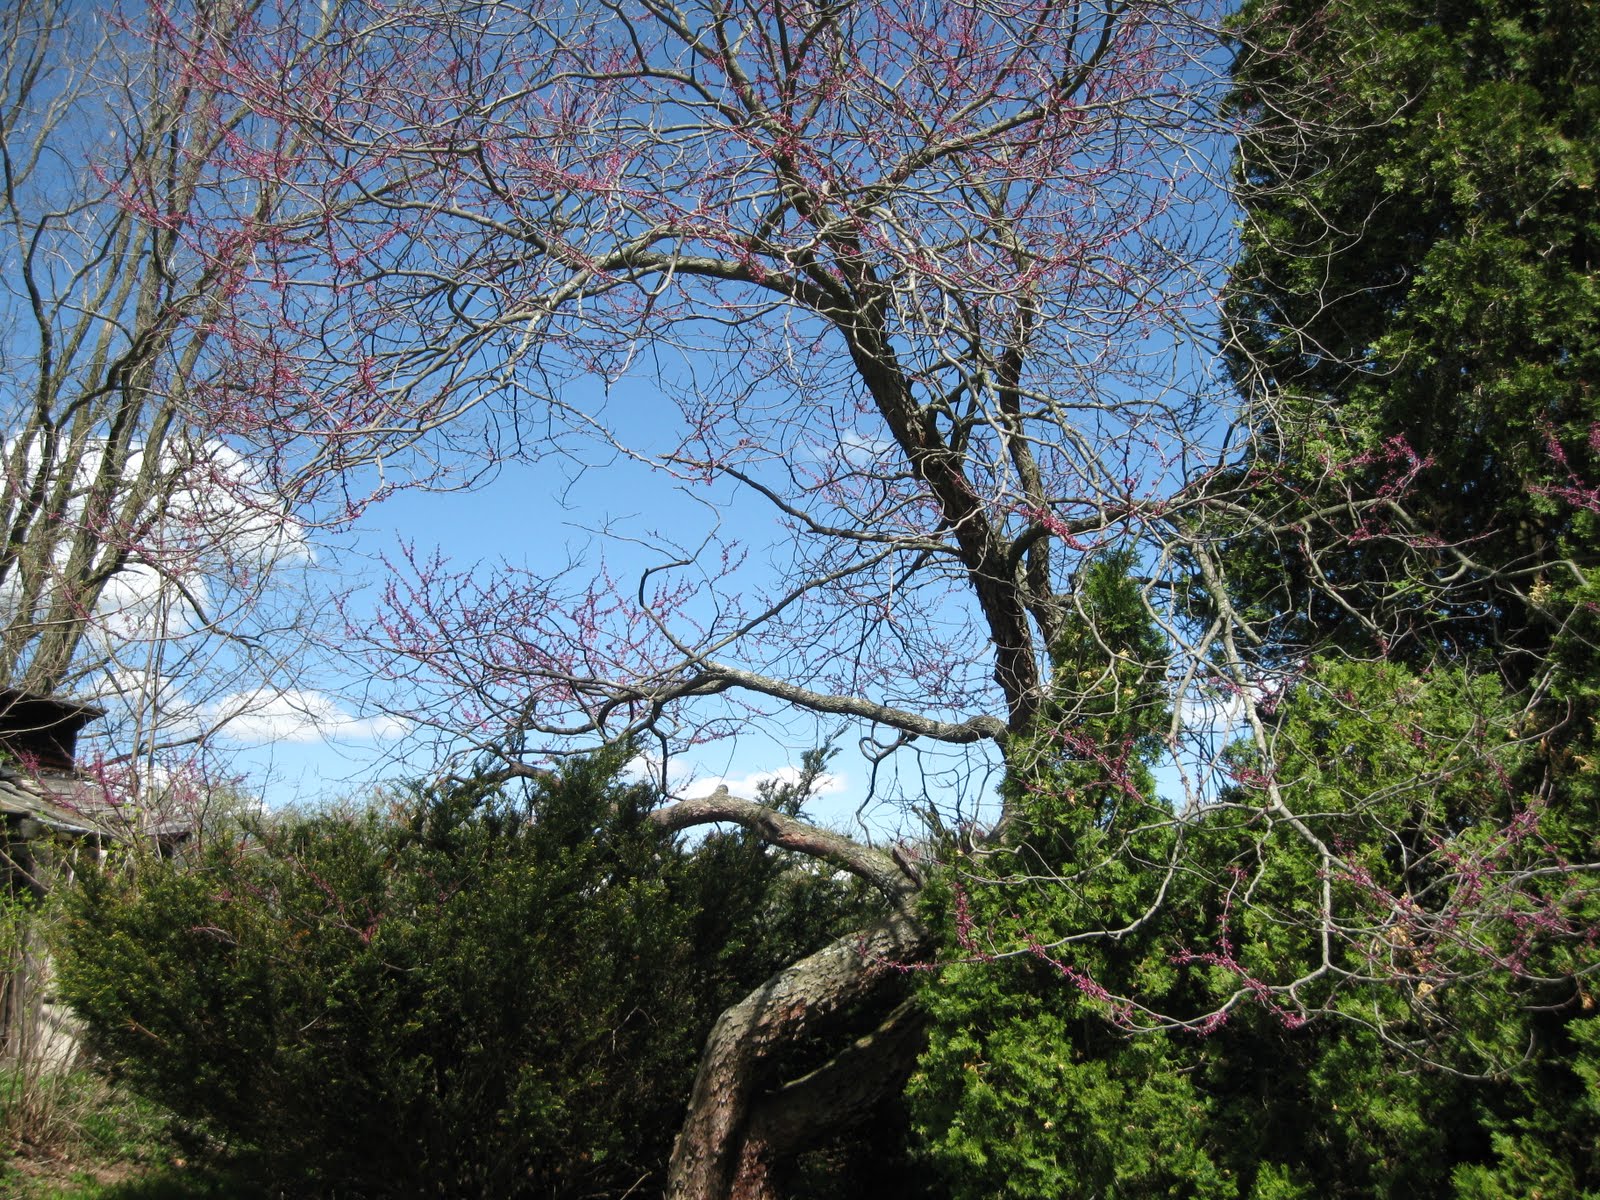
Eastern Red Bud blossoms

In a few days, this whole tree will be the prettiest shade of mauve


Soon, we will be chopping down the arborvitae that surround the
Eastern Red Bud - they are too big to transplant and engulf the Red Bud


Pretty little violets leading into the sunporch

Rhubarb! We have several patches

Purple lilacs near the kitchen window. White lilacs line the driveway.
The smell is heavenly!

The barn will be getting a facelift this summer (and all that wood
will be stacked inside for next winter)  

Barn cats and farm babies

We've got lots of other blooms starting to sprout on the farm, I'll share more pictures soon! I hope your spring is a lovely one!