Monday, May 16, 2011

Starting Seeds

 
"Big Rainbow" heirloom tomato seedlings

I love spring anywhere, but if I could choose I would always greet it in a garden. ~Ruth Stout

There are many ways to garden. Some people buy plants from a nursery or garden center, which is a great option for many. I have done this in the past, primarily with annuals flowers (like pansies and petunias), tomatoes and peppers.* This year, I decided to try my hand at starting my own seeds. Here's a little how-to for those looking to do the same.

What you need:
Seeds
Growing Medium
Containers (preferrably with a clear glass or plastic cover)
Light and warmth
Water

1. Do some research and math. GASP! Did you actually think gardening required math? Remember your high school calc teacher telling you over and over again that you might actually need this information someday? Well, you don't need calculus, but you will need some simple math skills. Think about a realistic date when you will be able to plant your seedlings in your garden. Then examine the germination and maturity rates. Some plants (like rosemary) need up to three weeks to germinate; others (like tomatoes) only need about 7 days. Maturity rates are often several weeks. Work backwards from the date when you want to plant your garden (my rule of thumb is around Memorial Day weekend, when the threat of frost in the Northeast has ended). This means I need to start my seedlings (most of them) around mid-April so that I can have tomatoes come July.

2. Find the best planting solution for your situation. I have two sunporches that retain a lot of heat in the spring. Pair that with the seed starting kit I use, and it makes for great growing conditions. I selected a tray growing container that nestles into a bottom compartment to drain excess water and circulate air around the roots and includes a clear plastic cover that helps create a warm, humid environment for seedlings (which aids germination). Sounds expensive, doesn't it. Don't worry, it only cost me $8, I think. Seed starting takes space, so you will need a shelving unit or flat surface on which to place your seedling trays. You can also use basic pots and planters, but you will want to make sure they can produce humidity. Here's a trick - cover the top with plastic wrap, and remove/replace for watering. My sunporches generate a decent amount of heat, and I place my trays on the ledge near the windows (see picture below). During the day, I'll sometimes move them outside to get more light and generate more heat. Seeds love moisture/humidity to germinate, so try to encourage this environment as best possible. Other solutions include greenhouses (small, portable greenhouses are available for purchase at big-box stores and online), on a kitchen windowsill, in cold frames, or under a grow lamp.

My seedling trays

3. Plant your seeds. This is pretty straight-forward. Some seeds require different planting depths, so make sure to read the back of the seed packet for more info. My preferred method of planting is using a good, organic seed-starting mix (NOT gardening soil!). Other methods include peat/soil pellets that come dry (you just insert the seed and add water). These can typically be placed right into the ground once the seedling is ready for transplate. There are also compressed peat moss pots that require soil, but can also be directly planted in the garden when the seedling is ready. Hydroponic plantings are also popular, though I cannot speak to the effectiveness of this method, as I have never tried it. I like the black plastic seedling trays featured in the above picture, as it retains heat in the soil well (probably better than any other method). Add about an inch of soil, then your seeds (for larger plants, add one see per cell. Most other seeds (tomatoes, peppers, herbs) can be planted two to five seeds per cell). These plants can be divided once crowding becomes an issue. After seeds are added to the soil, cover with more soil (generally 1/4 - 1/2 inch) and water thoroughly. You'll need to water every day until seed germinate.

Also, be sure the seeds you are planting actually want to be seed-started in this manner. Some seeds are direct-sow, meaning you are better off planting them right into the garden. Direct-sow plants include lettuces, kale, spinach (and other leafy greens), radishes, peas, and beans. Basically, any other seeds can be started indoors. Check the back of the seed packet for more specific planting information.

4. Fertilize and Water. Once seeds have germinated, only water once the soil is dry. Too much water/moisture can cause root-rot or mold on the seedlings. The general rule of thumb for fertilization is not to do it until seedlings have developed a second set of leaves (which usually happens 3-4 weeks after germination). Look for a complete organic fertilizer that has trace compounds to ensure seedlings get all necessary nutrients. Seedlings are delicate and cannot handle a full-dose of fertilizer, so dilute the fertilizer to a half-dose with water. Seaweed or kelp extracts and fish emulsions are great for seedlings and help them mature quickly and fruitfully. Again, you will need to dilute these as to not overpower little seedlings.

5. Transplant. Some seedings might get leggy and spindly, which means they are ready to move to a bigger growing environment. Many factors contribute to transplate rates. The back of the seed packet will give you specific information on when to move seedlings to your garden. Transplant factors include the outgrowth of the planting cell or overcrowding (if you plant more than one seed per cell), and garden environment (that is, if the weather is condusive for gardening and the threat of frost is over). If the seedings have outgrown cells, but are not ready for the outdoor garden, simply move into bigger pots or cells. Be careful to maintin delicate root systems. Use small gardening tools (or old kitchen spoons and forks) to ease the seedling out of its cell.

If you garden using containers, you can plant your seeds directly in your containers, keep inside or in a greenhouse until seeds have germinated, then move the containers outside when seedling are ready. This saves a few steps!

Organic "Beefsteak" tomato seedlings and "Big Rainbow" heirloom tomato seedlings

If you have specific questions related to seed starting, please email me or leave a comment and I will try to respond as best possible. Good luck!

*If you choose to buy plants to put in containers or your garden, try to buy from a reputable source or local grower. Some studies have shown that the "great tomato blight" of 2009 was caused by a bad batch of plants from big-box gardening stores.

Sunday, May 15, 2011

Why I Love Living on Silly Goose Farm: Reason 3

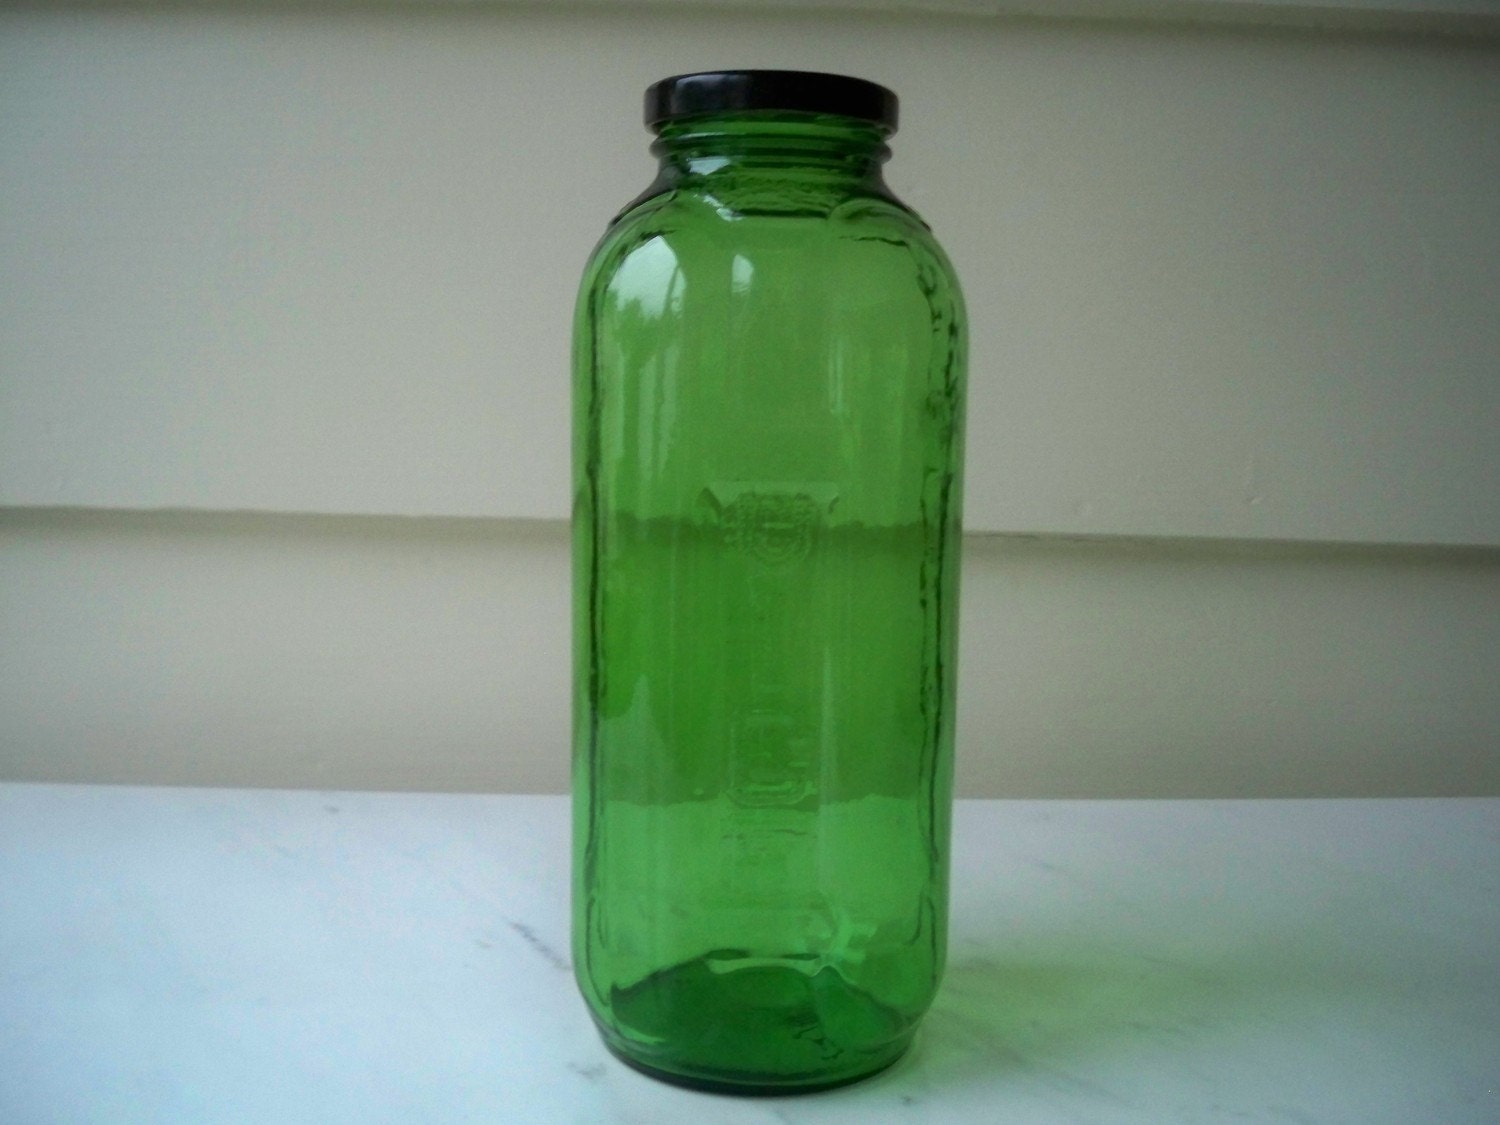
Emerald green glass juice/water bottle with black metal lid
Vintage green juice jars, via Etsy shop ModelVintage

1 Gallon Clear Glass Jug
Clear gallon and 1/2 gallon growlers
 
I love living at Silly Goose Farm because we have amazing neighbors. Our neighbor. Mr. Dykeman, sold me about 30 gallon and half-gallon glass growlers (at 50 cents a piece!) from his barn sale this weekend, as well as about 10 of the vintage green juice jars featured above (with original caps!). These growlers are perfect for cider-making this fall. I told Mr. Dykeman I was looking to explore homebrewing, and he said he used to make gallons and gallons of beer and wine "back in the day," and offered to teach me all I needed to know and use all of his equipment (bonus! I won't have to invest much money!). He also said that a lot of the area around our house was prime hop-growing property, and I'd probably be able to grow my own hops easily. Awesome! I can't wait to experience the tutelage of Mr. Dykeman, and am so grateful we have kind and generous neighbors like him.

Saturday, May 14, 2011

Sustainable Snippets


It has been a few weeks since I posted some Sustainable Snippets, so this week's version is super-sized! Also, I have noticed that this is becoming a repository for foodie articles, as well, so I hope you don't mind the addition of more food- and cooking-related articles. Here goes:

Man, I wish we had this when I was in college.

Well, I guess it's a step in some-sort of right direction (also, I don't think I've ever eaten at a KFC before in my life).

Finally, a comprehensive article on what I've been preaching for years!

Oh, Facebook (Dave had friends that have worked, at one time or another, at Google and I hear there are similar perks)

Could you do 100 days of real food?

Huh. I always thought wine and English were European oxy-morons. Throw Royal in there, and it's all cool.

And besides the above, I always knew I was a kindred spirit with the Royal Family. Polo anyone?

An intruiging look at calls for GMO/non-organic food.

10 things to never, ever say at the Farmers Market!

You probably know this, but here are 5 ways to eat locally.

Ooh, if only I had an extra $35,000 to blow (ps - I also studied Political Science in college!)

A handy guide for summer composting.

Hope you all have a great weekend! Any plans? Dave (a college professor) is tied-up with commencement ceremonies today, so the kids and I are gearing up to go for a walk up the road to check out our neighbor's alpaca farm, then I have a busy day of cleaning/organizing the attic and basement. Fun. My AMAZING friend Kelly is moving to NYC at the end of the month (sad face) and her going-away party is Sunday. I'm going to miss that girl, but thankfully she is only a quick train-ride away!

(More) Buds and Blooms

A few more pictures from around the farm. Enjoy!


Buds of the crab apple tree

If all goes according to plans, the house will be getting a
paint job this summer (think cream, green and purple!)

A lot of the shrubs and plants around the house need some serious trimming

Pear tree blossoms in the background. This outbuilding collapsed from heavy winter snows.
We'll be building a pergola in it's place (and hopefully a big fire pit!)


Pretty pale pink apple blossoms (this tree produces MacIntosh)

Black cap canes (can't wait to make jam!)

This HUMONGOUS daylily clump is so weird - it sits in the middle of
the lower lawn, and I have no idea what to do with it 

White lilacs that line the driveway

Sweet Lily of the Valley near the driveway and bay window of the dining room

Our neighbor Lorraine's house. She lives on the other side of the orchard/cow pasture.
She keeps a garden on our property and leaves scraps on her kitchen porch for our cats

John and Doris live right across the street. Their house and our house were built
by the same family (the Gaige brothers), but their house is much older

Doris' vegetable garden

I love the picket fence and tulips! In the late summer, holly hocks bloom around the fence

John and Doris' barn was recently built by a team of Amish craftsmen, and it looks amazing!
Their old barn collapsed in 2010 after a very heavy snowfall (we received 70 inches of snows in 3 days!)

I can't wait to update the barn - new windows, partial new roof, new doors and new paint.
With luck (that is, with whatever free-time my dad had), we will place a cupola on the peak

The colors of the farm are so beautiful and picturesque that
sometimes I can't believe this is actually my life! 

Thursday, May 12, 2011

Bud and Blooms

Hi friends! Did you think I died? Nope, just been out living life and staying busy. I guess that's good for blogging, right? If we didn't live our lives, what would we blog about? Okay, maybe that's not entirely true. Perhaps it is just something I tell myself in order to erase the guilt of being off the blog for so long. Add this to the "Lies We Tell Ourselves to Make Ourselves Feel Better" file.

Well, things have been pretty good around here. Had a couple birthday to celebrate, took a mini-vacation with Dave, everyone was sick in there somewhere, the usual. In the past week, everything in the outside world seems to have exploded in color here on Silly Goose Farm, and I thought I'd share some photos with you.

The orchard:
Apple trees

Wowie, the grass is getting high! Guess it's time to let the cows out. 


 I love how old and tangled some trees are

A rose bush grows under one apple tree. I should probably move it

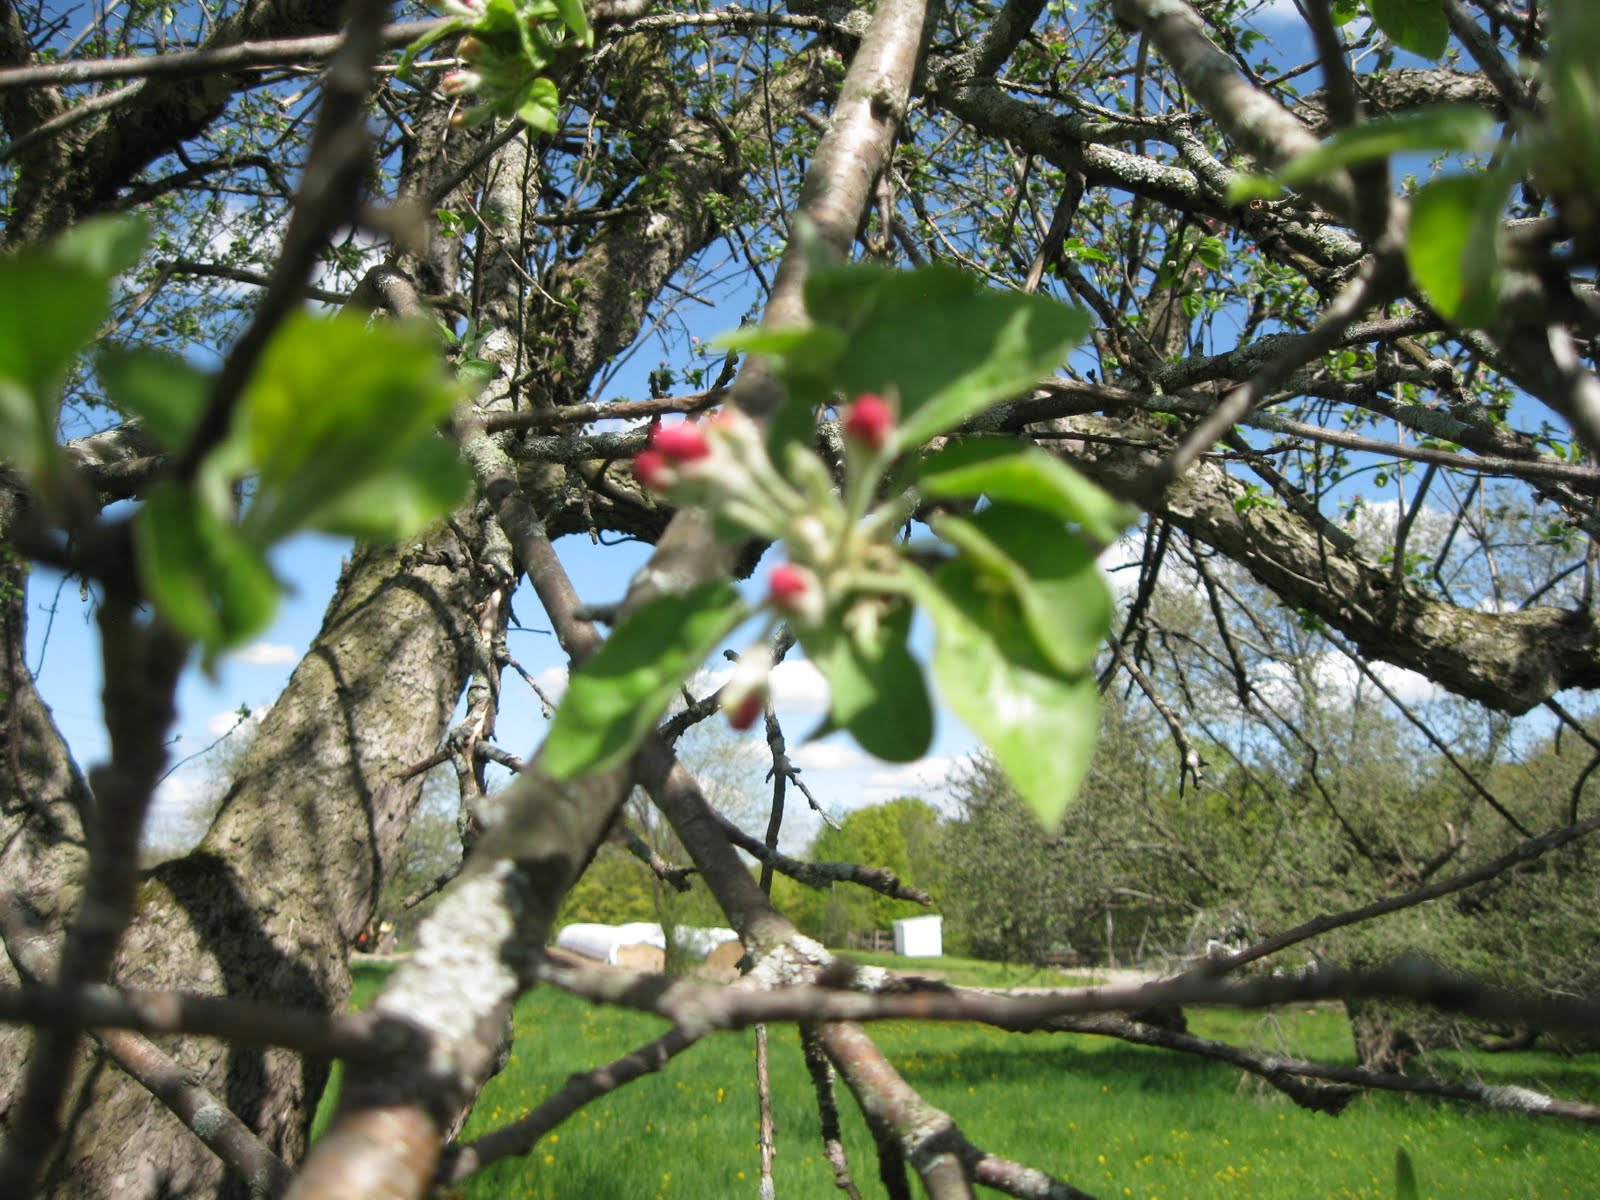
Blurry close-up of apple blossom buds


Pure white pear blossoms

I imagine these pear trees are close to (if not more than) 100 years old


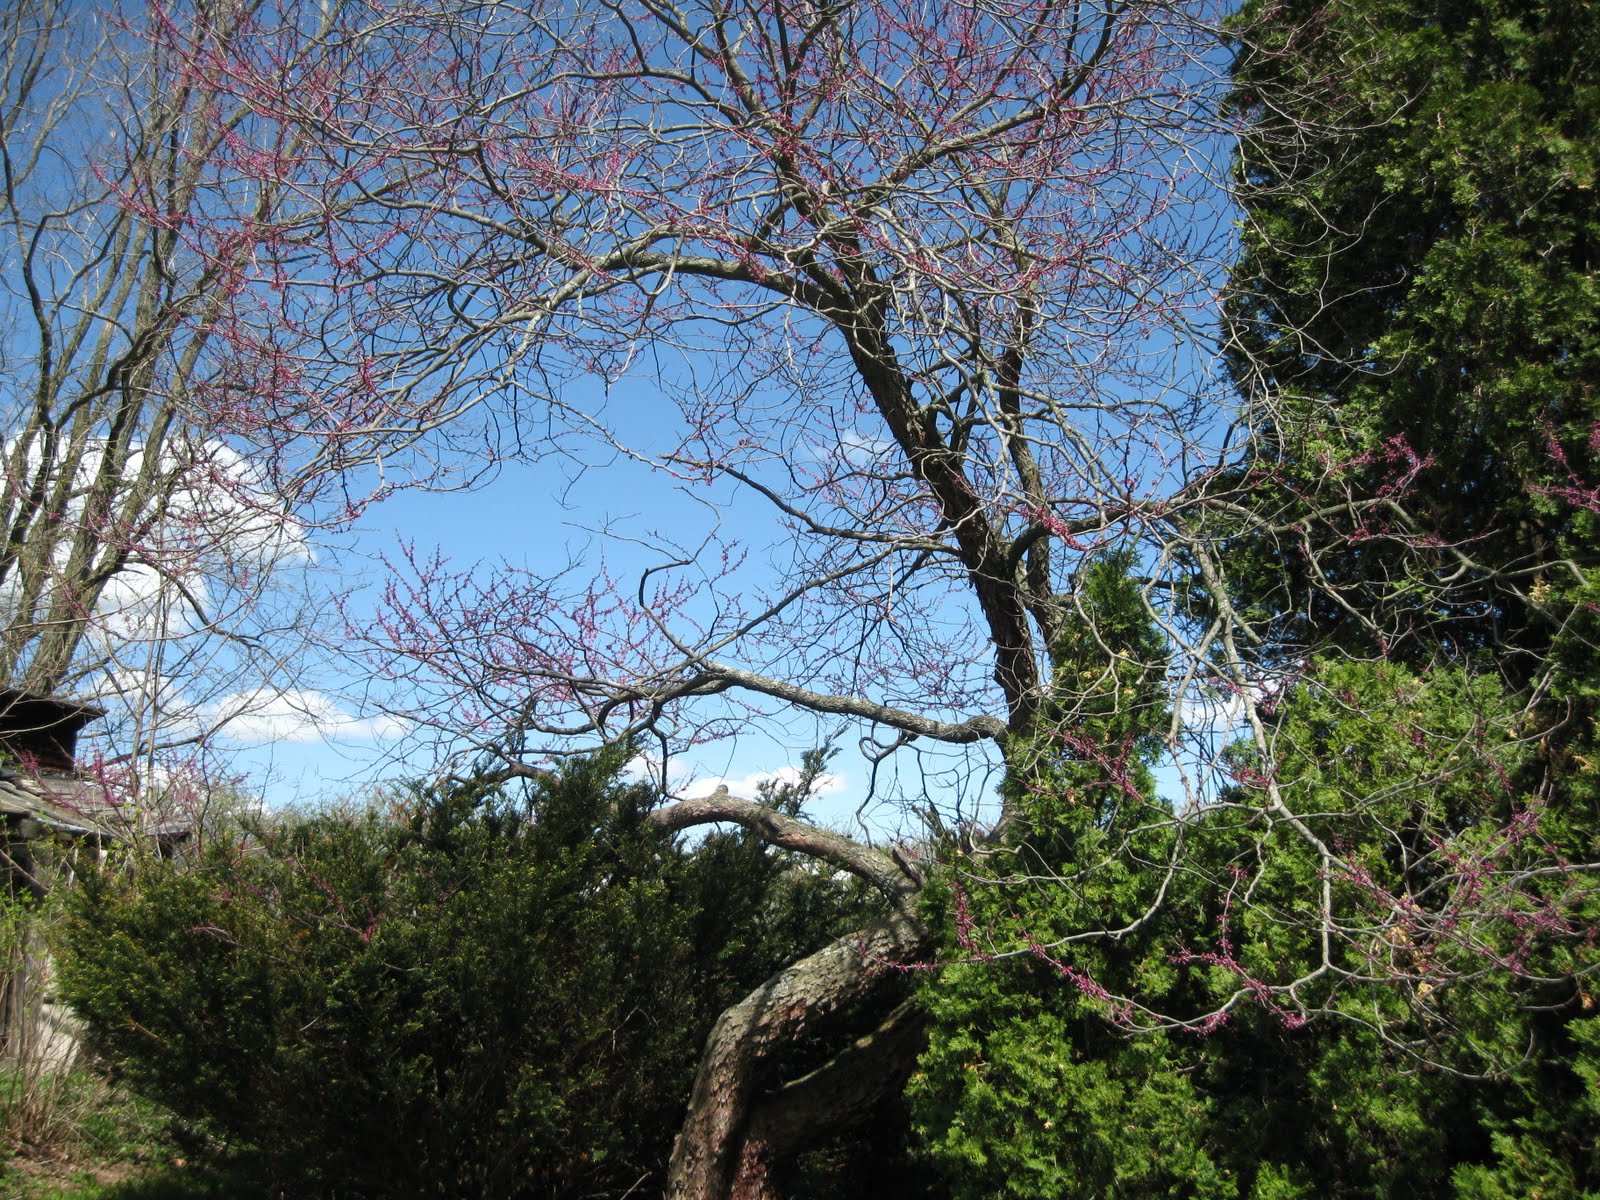
Eastern Red Bud blossoms

In a few days, this whole tree will be the prettiest shade of mauve


Soon, we will be chopping down the arborvitae that surround the
Eastern Red Bud - they are too big to transplant and engulf the Red Bud


Pretty little violets leading into the sunporch

Rhubarb! We have several patches

Purple lilacs near the kitchen window. White lilacs line the driveway.
The smell is heavenly!

The barn will be getting a facelift this summer (and all that wood
will be stacked inside for next winter)  

Barn cats and farm babies

We've got lots of other blooms starting to sprout on the farm, I'll share more pictures soon! I hope your spring is a lovely one!

Monday, May 2, 2011

Happy Birthday Dave!


Today is my darling husband's birthday. Just to make him feel extra-special today, I'll refer to him by his proper title, Dr. Goldschmidt.


I took a half-workday today so the kids and I could run to the grocer and get all the fixings for one of Dave's favorite meals (chicken tortellini) along with everything to make a homemade coffee ice cream cake (easy-peasy, I'll post pictures up on Twitter later). After the kids are in bed, I'm sure we'll cozy up on the couch to watch a movie, and if everything goes according to plans, I will whisk Dave away for a little get-away this weekend.


Dave, I'm so lucky I get to be your wife. Thanks for always cheering me up with your Sean Connery and Julie Child impressions (which sometimes blend into each other), for always offering to make the tea and coffee, for (rarely) reining in my imagination, for being the best daddy ever, and for just being you. I know it hasn't always been easy, but I hope I make you a fraction as happy as you make me. I love you (and I'll always be your Silly Goose).

Update: Click here for the ice cream cake tutorial on Twitter!!